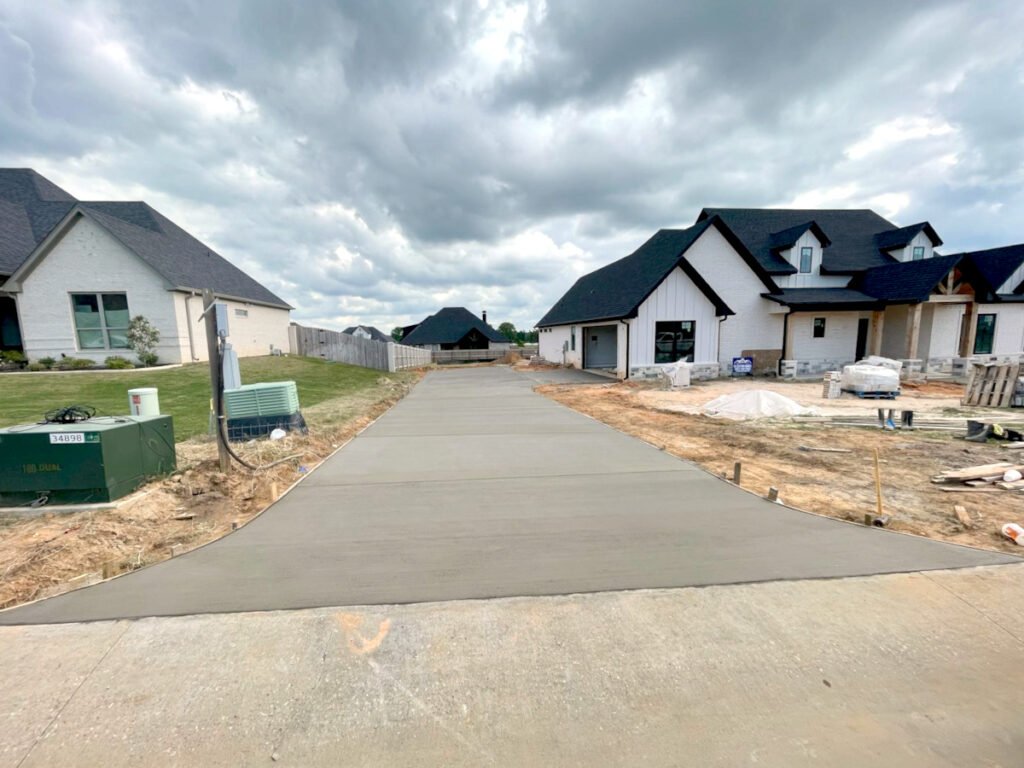
A damaged concrete driveway is more than just an eyesore — it can lead to trip hazards, water pooling, and even long-term structural problems if left unchecked. Fortunately, most surface issues don’t require a full replacement. In many cases, a simple concrete repair can restore your driveway to like-new condition in just a few hours.
“Our clients often contact us when they notice a crack or uneven section in their driveway. In many cases, the solution is a simple repair — just filling and leveling cracks or patching low spots. After just a short visit, often only a few hours, their driveway looks like new.”
In this guide, we’ll walk you through everything you need to know about driveway concrete repair, including when to fix, how to fix, and how to maintain your driveway for long-lasting results.
When Do You Need Driveway Concrete Repair?
Your driveway goes through a lot: vehicle weight, changing temperatures, water runoff, and sometimes poor initial installation. Over time, these stressors can cause damage.
Common signs that it’s time to repair:
- Hairline cracks that are growing wider
- Uneven or sunken sections causing pooling water
- Surface flaking or scaling (top layer breaking off)
- Expansion joints separating or failing
- Holes or rough patches from wear and tear
Not every crack means you need a full replacement — in fact, the majority can be repaired quickly and effectively.
Tools & Materials for Concrete Driveway Repair
Before starting a repair, you need the right materials and tools. The exact choice depends on the type and extent of damage.
Common materials:
- Concrete patch mix or resurfacer
- Crack filler or sealant
- Bonding adhesive for better adhesion
- Expansion joint caulk (polyurethane or silicone-based)
Common tools:
- Trowel or magnesium float
- Wire brush
- Chisel or grinder (to widen cracks)
- Pressure washer or broom
- Caulking gun
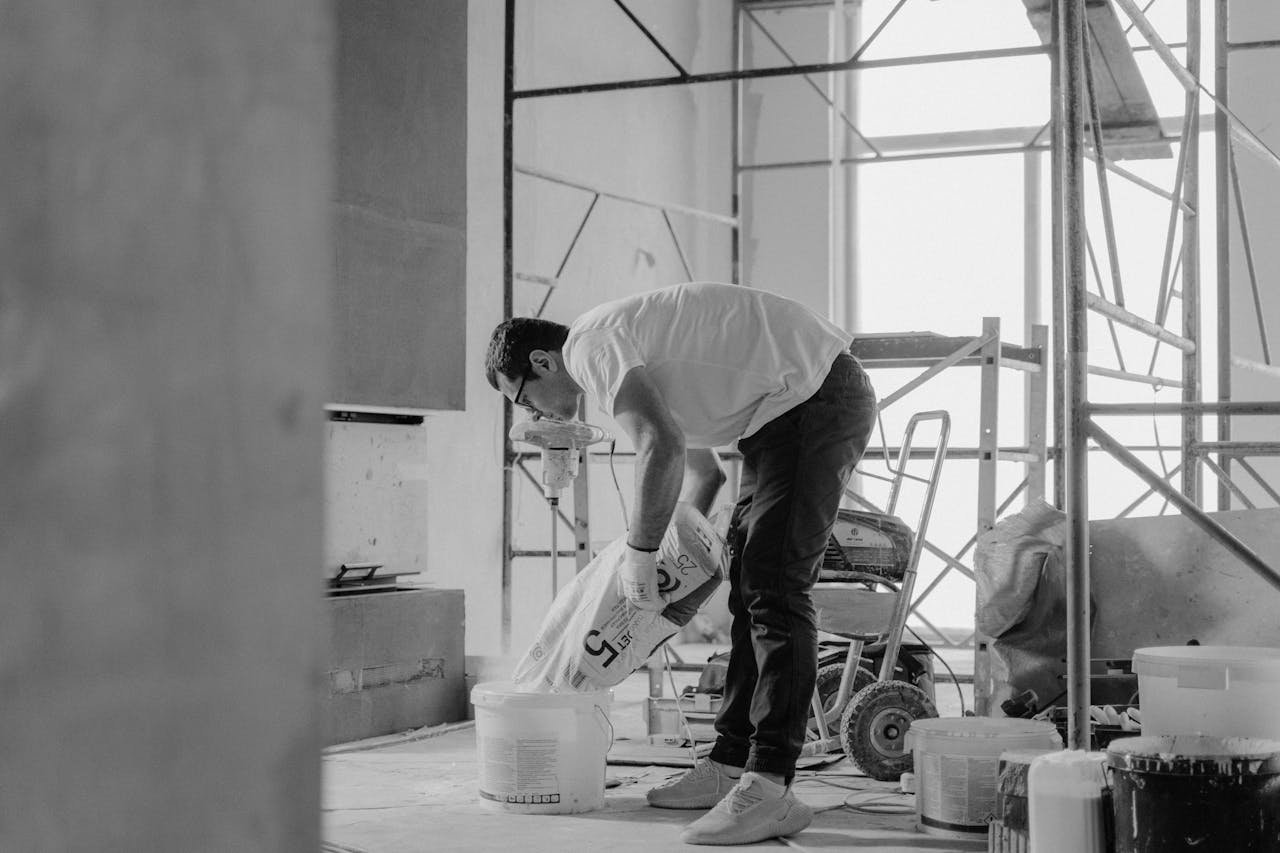
- Bucket and mixer (for patch materials)
Tip: For small jobs, many home improvement stores sell pre-mixed crack fillers and patching kits — ideal for DIYers.
How to Repair Cracks and Uneven Concrete Driveways
Step 1: Clean the Area
Remove all debris, loose concrete, dust, weeds, and dirt. For cracks, use a wire brush or compressed air to clean deep inside. A clean surface ensures adhesion.
Step 2: Widen the Crack (If Needed)
Use a chisel to slightly widen V-shaped cracks. This gives the filler more surface area to grip and helps prevent future separation.
Step 3: Apply Bonding Agent
If you’re using concrete patch material, apply bonding adhesive to the cleaned area. This helps old and new concrete bond better.
Step 4: Fill the Crack or Low Spot
- For cracks: Use a crack filler or patching compound. Push it deep into the crack using a trowel.
- For sunken areas: Use a leveling compound or repair mix and spread evenly. Feather the edges so it blends into the existing surface.
Step 5: Texture the Surface
Use a broom or trowel to create a matching texture. This helps with slip resistance and aesthetic consistency.
Step 6: Cure and Seal
Let the repair cure properly. Avoid foot or vehicle traffic for at least 24–48 hours. Once cured, apply a concrete sealer to protect the surface.
Repair or Replace? Know When It’s Time
While most issues can be repaired, there are times when replacing the driveway is the better option.
Replace when:
- Cracks are wider than ½ inch and cover large sections
- The surface is heaving, lifting, or breaking apart
- There’s poor drainage due to incorrect slope
- Driveway is 20+ years old and repairs no longer hold
For everything else, a well-done repair can extend the life of your driveway by years — saving you thousands in the process.
Cost and Time Estimates
Typical repair timeline:
- Small cracks or patching: 2–4 hours
- Larger sections: 1 full day (including curing)
Estimated costs (materials + labor, per project):
| Repair Type | DIY | Professional |
|---|---|---|
| Crack filling | $15 – $50 | $150 – $300 |
| Small patching | $30 – $100 | $250 – $500 |
| Leveling/sinking repair | $50 – $200 | $400 – $1,000+ |
If the damage is mostly cosmetic or limited in scope, repair is almost always more cost-effective than replacement.
Common Mistakes to Avoid
Avoiding these issues can save you from redoing the work:
- Skipping surface prep (dirty concrete = weak bond)
- Overfilling cracks (causes bumps and poor finish)
- Not feathering edges
- Ignoring cure times
- Using interior fillers outdoors (not UV/weather resistant)
“In many cases, the solution is a simple repair… After just a short visit, their driveway looks like new.”
Hiring experienced pros can help you avoid these problems — or follow our steps carefully if you’re going the DIY route.
Aftercare: Keep Your Driveway Looking New
A successful repair is only half the job — proper maintenance ensures longevity.
Maintenance Tips:
- Reapply concrete sealer every 2–3 years
- Avoid salt and de-icing chemicals in winter
- Clean stains quickly (oil, rust, paint)
- Inspect annually for new cracks or shifting
- Reseal filled cracks if they reopen
Final Thoughts
Concrete driveways are built to last, but no material is immune to wear. Thankfully, with the right approach, most cracks, dips, and surface flaws can be repaired without a full replacement.
“Our clients often contact us when they notice a crack or uneven section… After just a short visit, their driveway looks like new.”
If you see early signs of damage, act fast. Small repairs today can prevent bigger problems tomorrow — and keep your driveway strong, safe, and looking great.
Phone No
(903) 780-3125
Address
3766 William Spear Dr, Tyler, Tx


